1. Before starting
You need an iPhone running iOS 17 or later and access to at least one email account. ClarInBox supports Gmail through Google sign-in, Microsoft accounts through Microsoft sign-in, iCloud with an app-specific password, and other compatible IMAP accounts.
2. Connect an email account
- Open the Accounts tab.
- Tap the add button and choose the provider.
- Enter the email address and account name.
- Use Sign in with Google or Sign in with Microsoft whenever it is offered.
- For iCloud or another IMAP account, follow the on-screen instructions for the server and app-specific password.
- Wait for the account to show as connected.
ClarInBox stores the revocable OAuth token or access secret in the protected iOS Keychain. Never send your password to support.
3. Choose the global folder structure
Open Settings → Mailbox organization → Global structure. Two layouts are available:
- Inside one main folder: for example
ClarInBox/Purchases,ClarInBox/InsuranceandClarInBox/Health. - Directly in the mailbox: for example
T Purchases,T InsuranceandT Health.
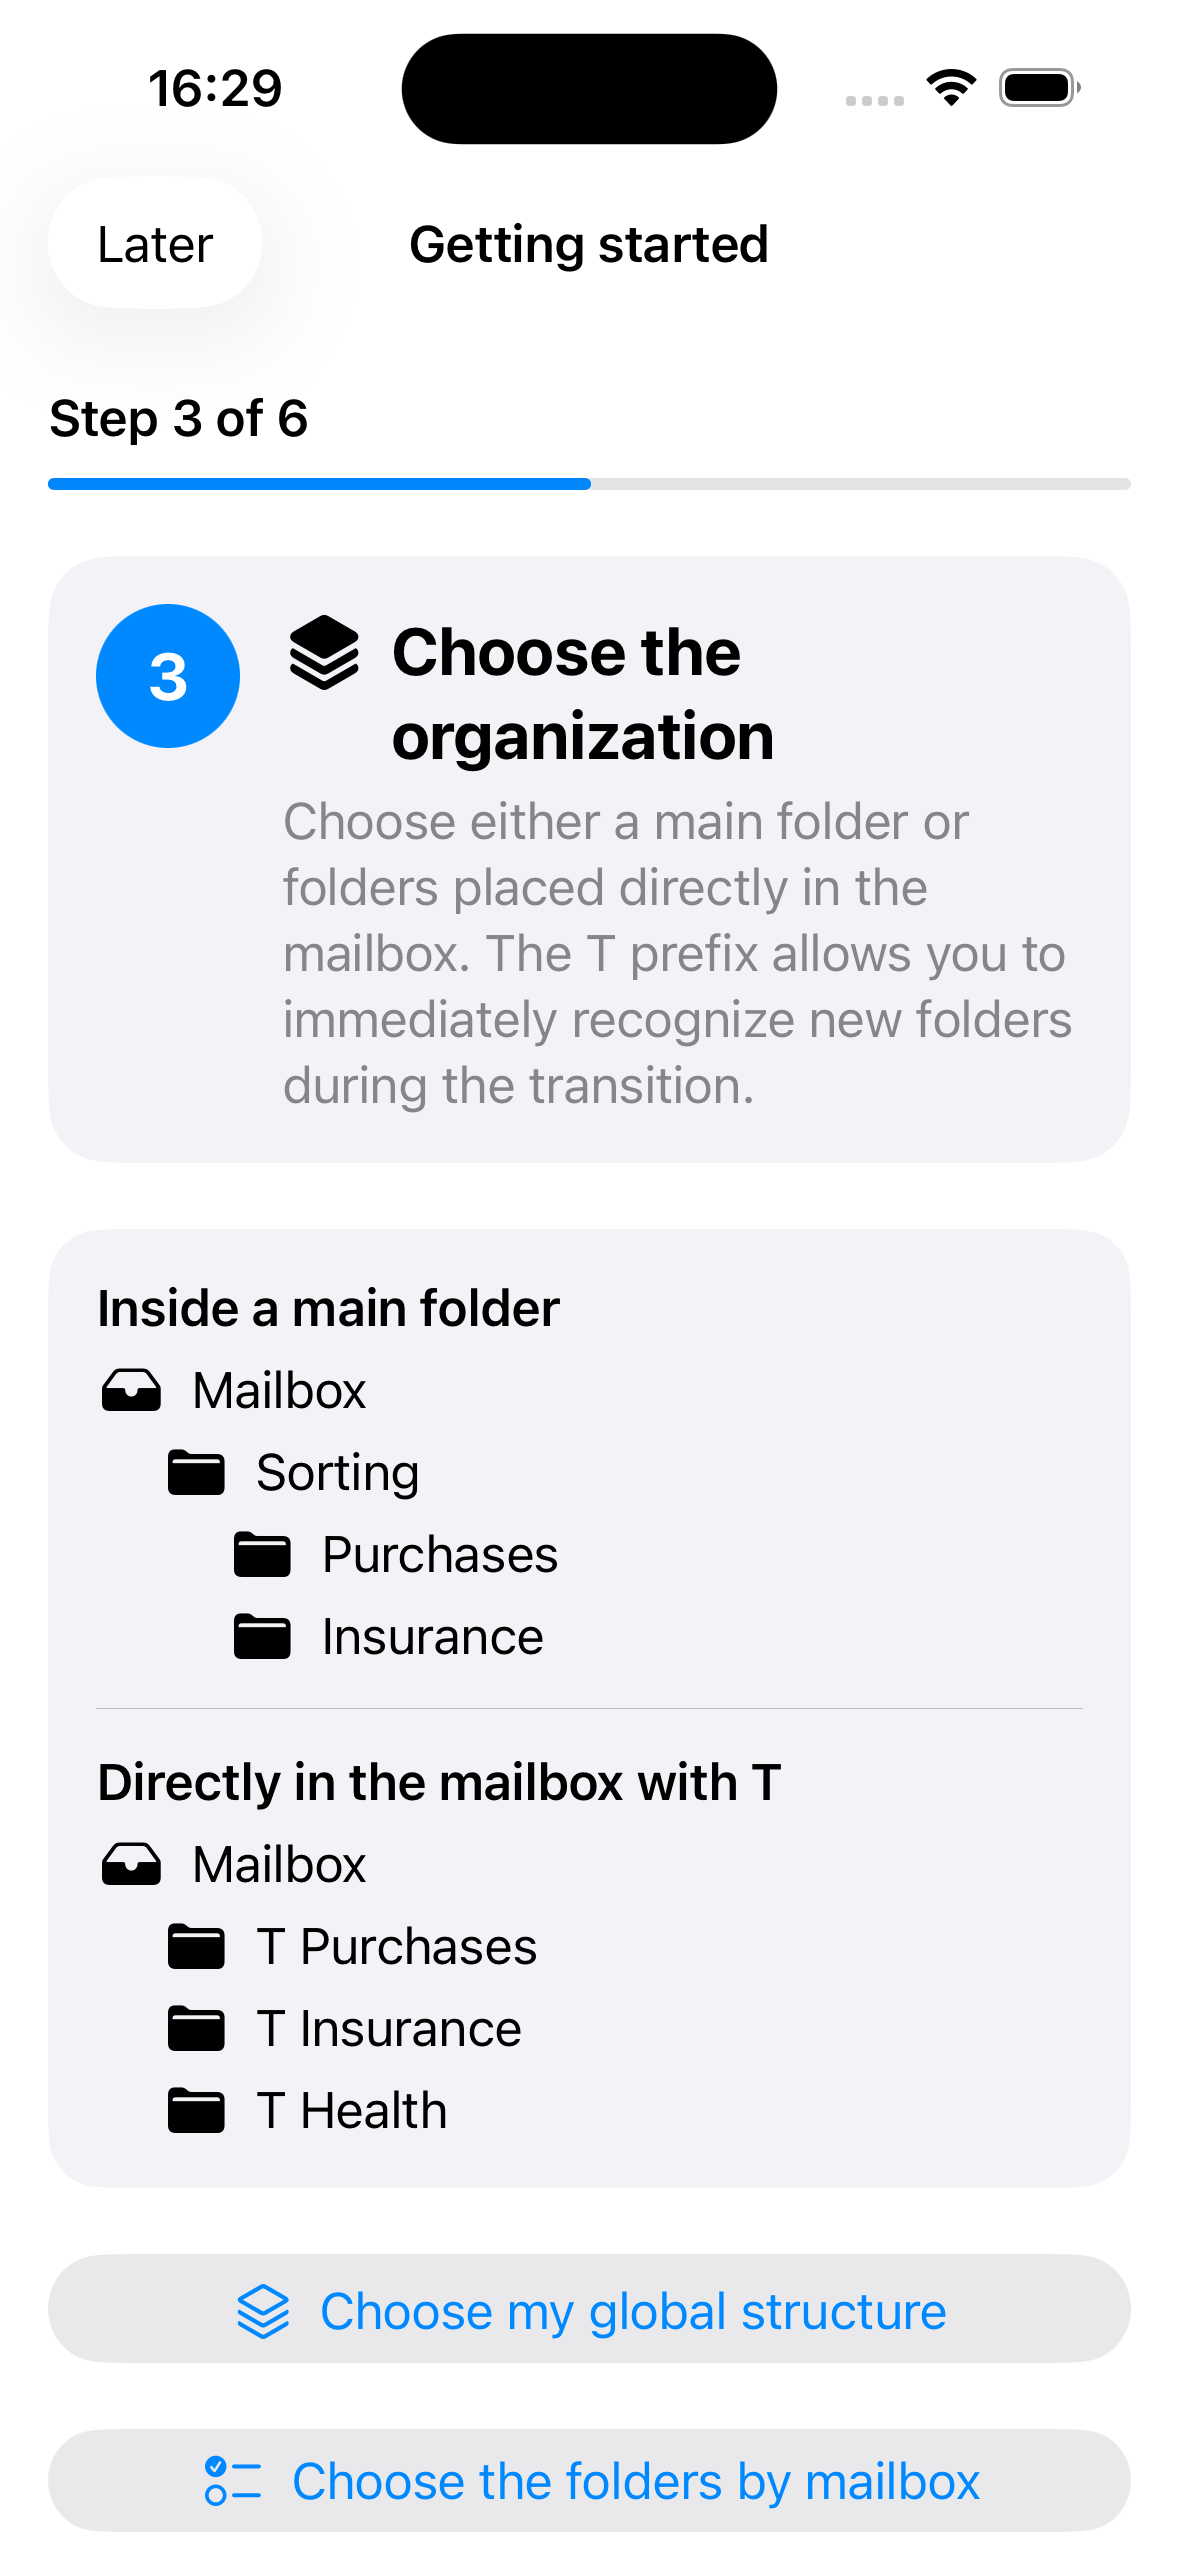
4. Choose your own prefix
The letter T is only an example. It means “new sorting structure” in the guide, but you may choose any short, recognizable prefix:
T PurchasesC PurchasesSORT PurchasesPurchaseswith no prefix
A prefix is useful during migration because old and new folders remain easy to distinguish.
5. Keep existing folders
If your mailbox already has a useful organization, open its settings and choose Import my current organization. Select all folders or only the folders ClarInBox should be allowed to use as destinations.
6. Run the first analysis
- Return to the Sort tab.
- Choose 10 or 30 recent messages.
- Open Mailboxes to analyze and select only the intended account.
- Tap Analyze now.
- Wait for the suggestions to appear.
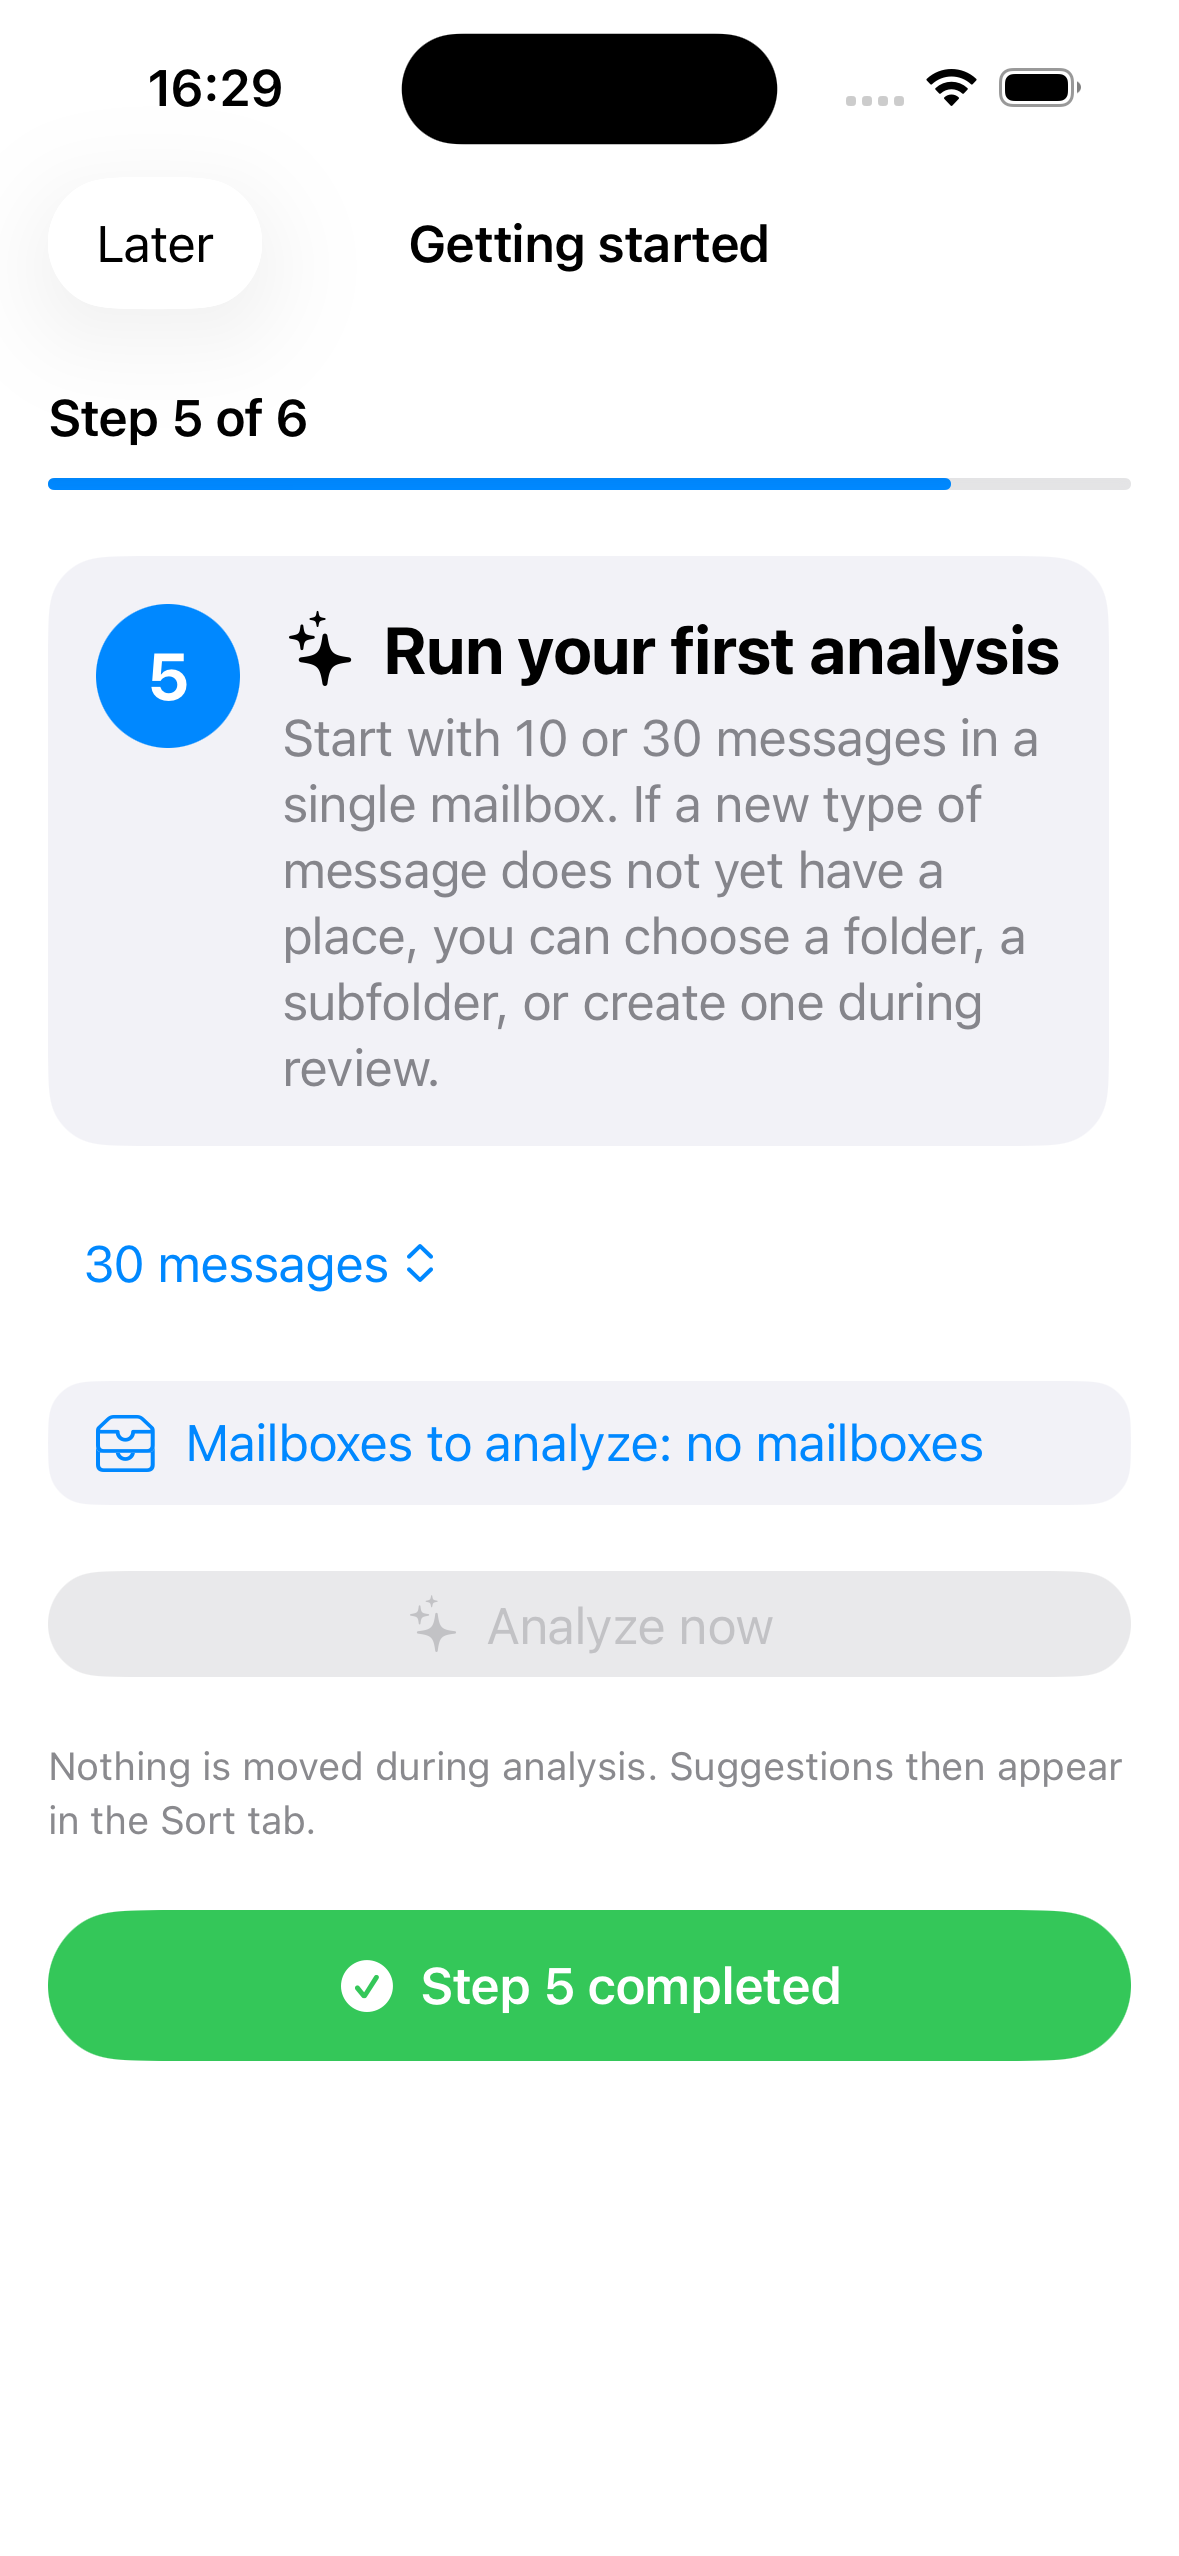
7. Create a folder or subfolder when no suggestion fits
During review, open the destination selector. You can choose an existing folder, choose one of its subfolders, add a new subfolder inside it, or create a new main folder. Give the new folder a clear name, save it, then select it for the message.
Example: if Health exists but this message needs a more precise destination, create Health/Insurance statements directly from the selector.
8. Review and apply
Check the suggested action and destination for every message. Correct anything that is uncertain. Only tap Confirm and apply after this review.
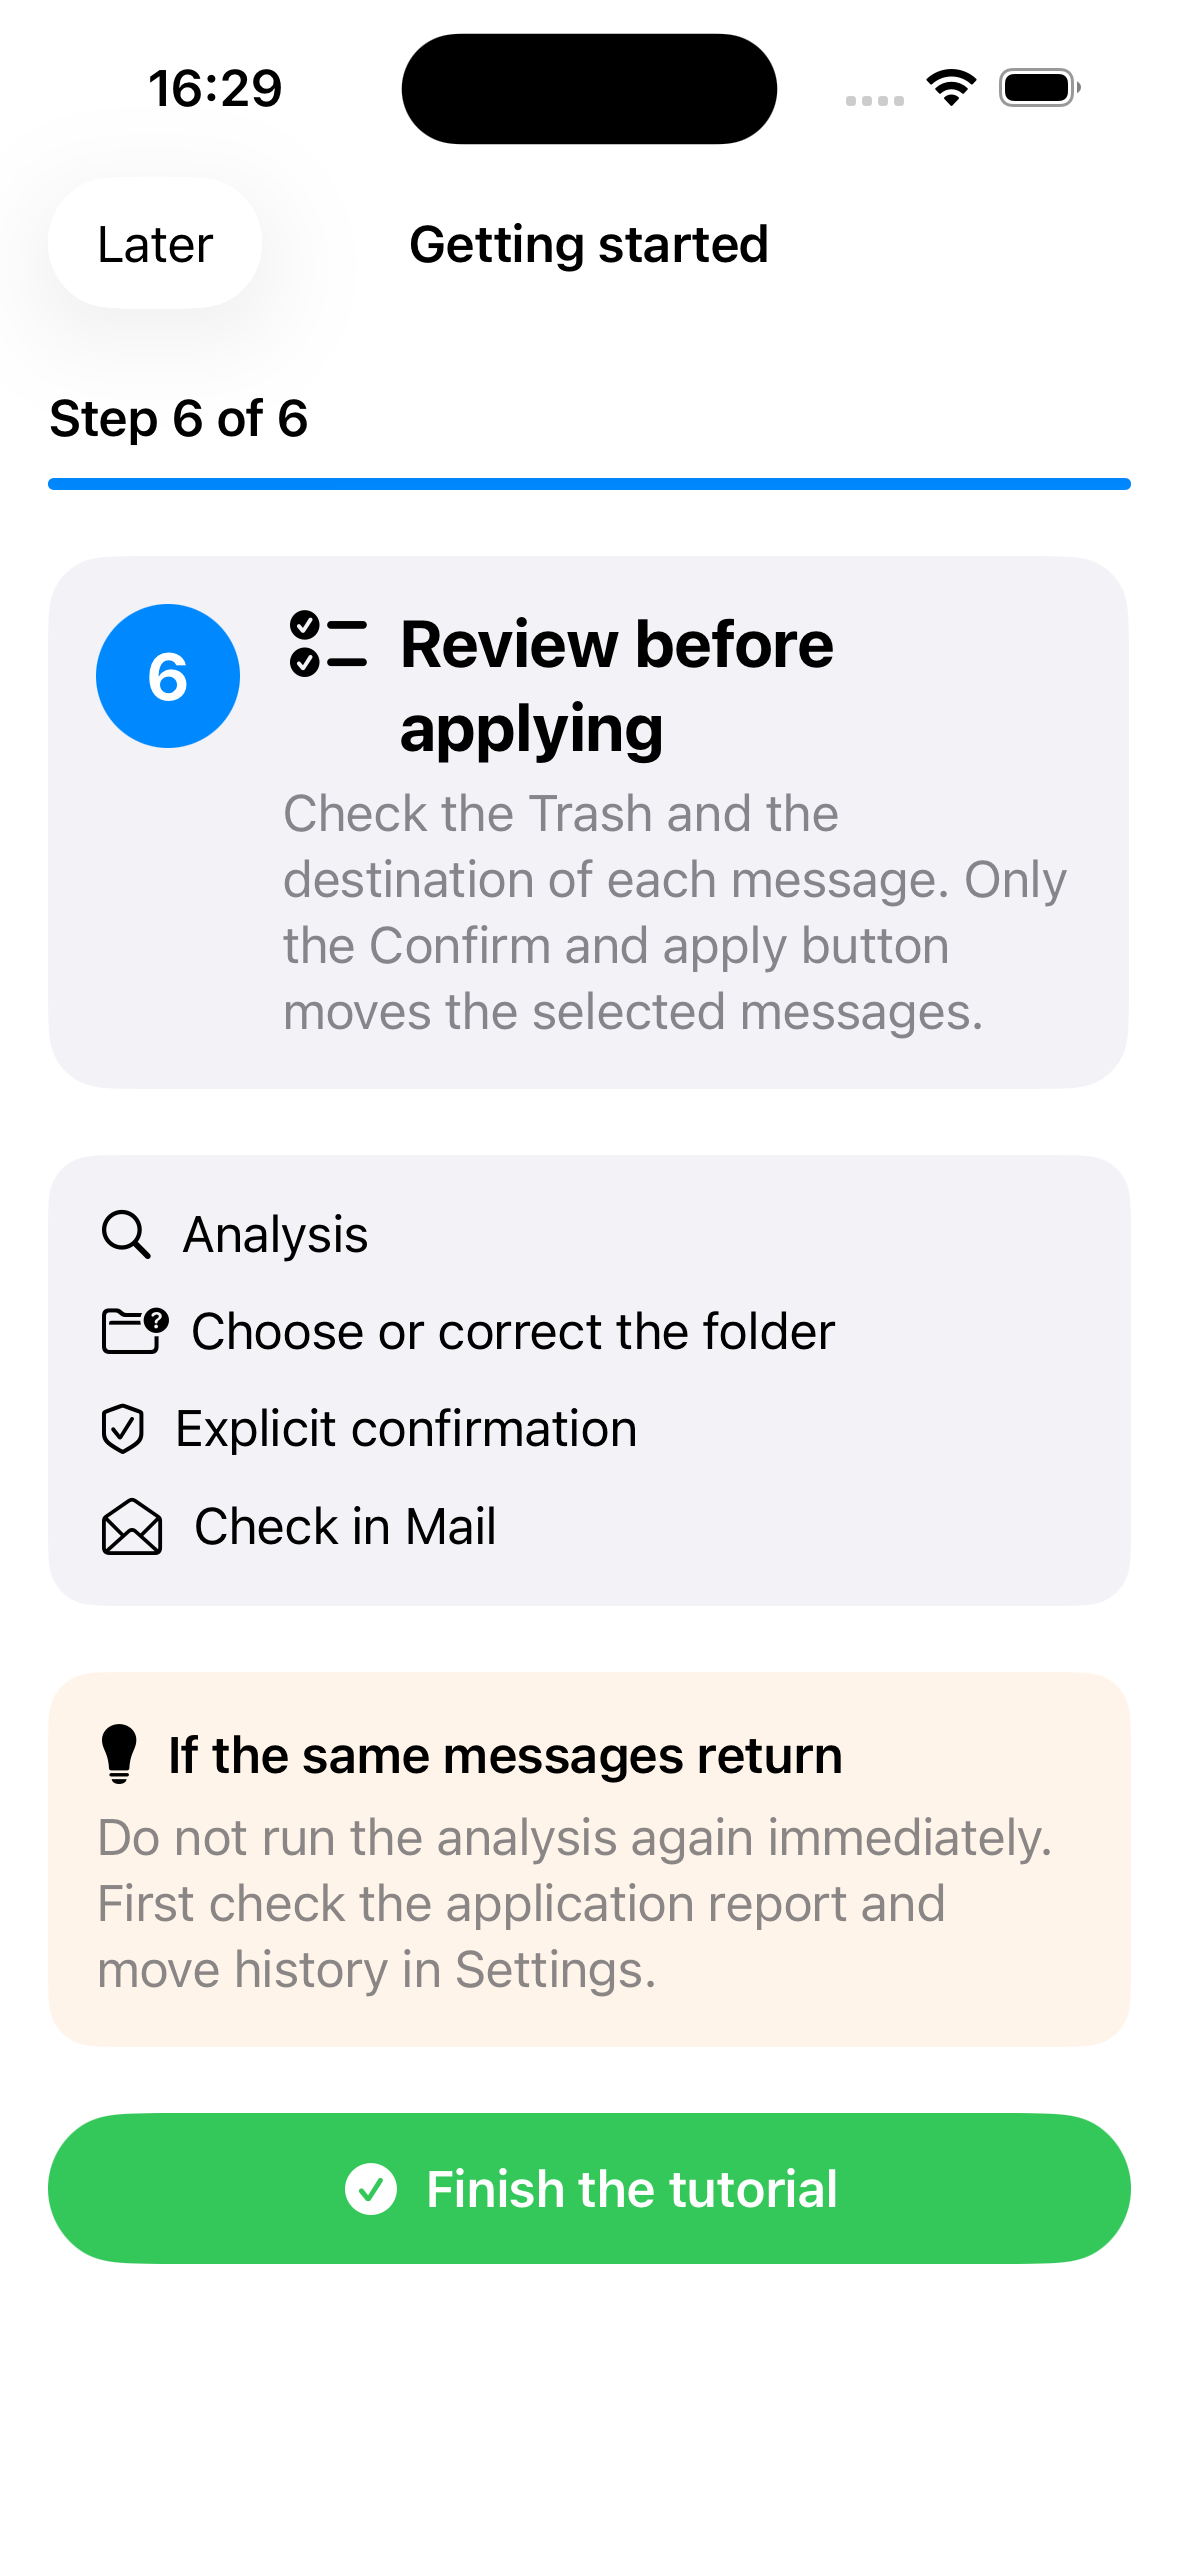
9. Migrate old folders to the new structure
You can migrate on the iPhone or on a computer. The safest method is the same:
- Create the complete new structure first.
- Open Mail on iPhone, Gmail on the web, Outlook or another desktop mail app.
- Open one old folder.
- Select a small group of messages and move them to the matching new folder.
- Open the new folder and verify the message count and a few messages.
- Repeat until the old folder is empty.
- Delete the old folder only after that final check.
Example: move messages from Purchases to T Purchases, and from Health/Doctor to T Health/Doctor.
10. Final checks and backup
- Open several new folders in Mail and confirm that messages are present.
- Review the move history in ClarInBox Settings.
- Check learned rules and remove any rule that is too broad.
- Create an encrypted backup from Settings and keep its passphrase separately.
- Only then remove old, empty folders.
Need help? Write to infos@sevy-creations.net and describe the screen and action involved. Do not include passwords, OAuth codes or private email content.